 |
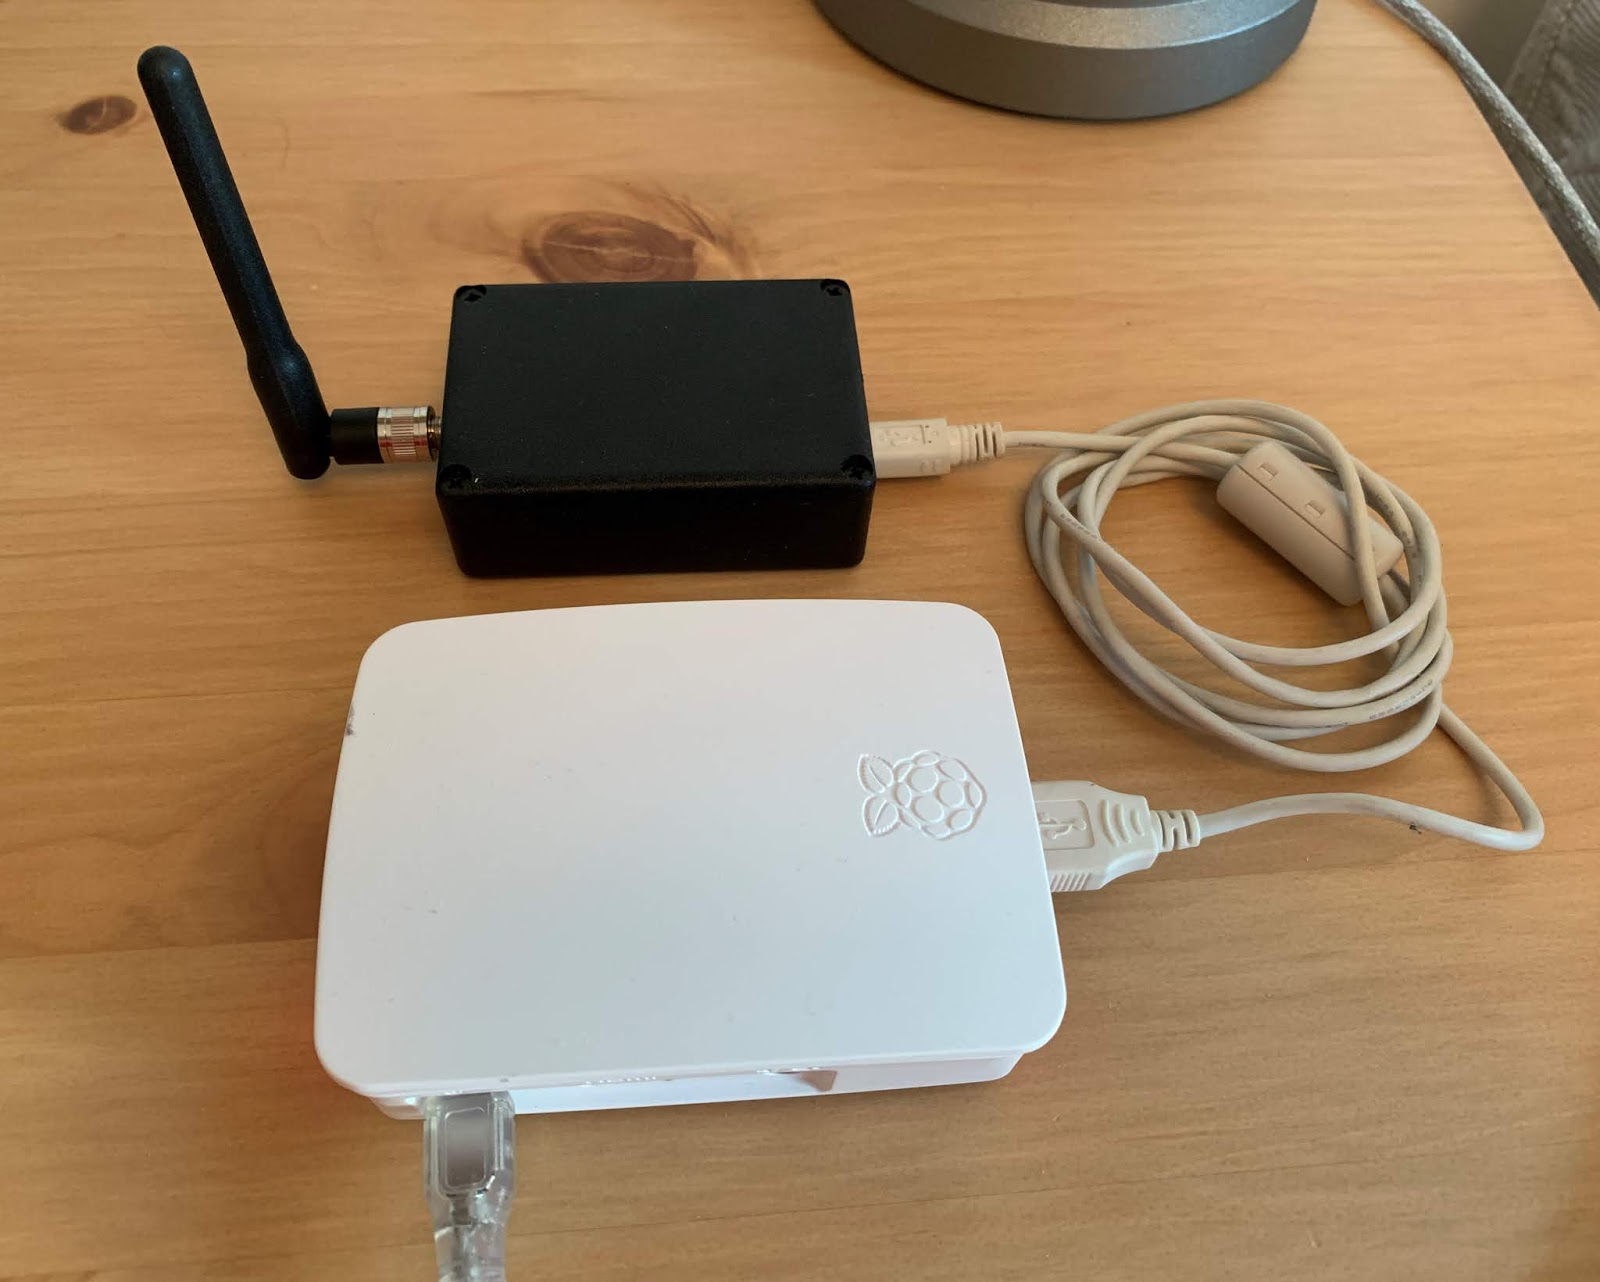
| Completed USB-powered simplex node |
Having such interface which requires a computer to operate and DC voltage, I thought of the SA818 module specifications that it actually works quite well with USB-provided 5V. It would simplify the structure nicely to require only one USB connection from the computer, and not a separate DC power feed, regulation etc. Based on the SA818 module specifications, the operating voltage and current draw specifications are spot-on within USB specifications so I'll give it a try!
For the confused one's found here based on google keywords SA818 and DRA818, they are the same animal exactly so carry on :)
The SA818 module itself is a simple narrowband-FM transceiver module based on a single-chip transceiver module and a MCU to program frequencies, subtones, etc. For programming the frequencies etc, please refer to the earlier post again.

Interfacing to the computer
As an interfacing circuitry towards a computer running SVXLink, I chose Repeater Builder's RIM-Lite board which is a fantastic little device featuring a CM119 sound chip and GPIO capabilities to detect squelch and ctcss (TTL levels), key PTT etc. to make all work over a single USB connection. Many Linux-based RoIP software solutions including SVXLink and TheLinkBox support these out-of-the box or with slight modifications.The RIM-Lite board comes in multiple versions depending to which radio it is to be hooked to, I had few generic version boards which has a D9-connector through which the radio is to be interfaced via. For my proof-of-concept build I removed the D9-connector from the RIM-Lite board and soldered the required wires directly to the pads for the connector

 |
| RIM-Lite D9 connector removed and wires soldered to the pads directly |

Powering the SA818 module
Additionally, as I was to power the transceiver module also from the USB port, I needed to solder one additional wire to the board close to the USB connector. I chose to take the power output for the module before the choke and PTC fuse as their characteristics were not known and I was not sure could I pull the extra current needed by the module through them. |
| RIM-Lite board with DC power 'stolen' for the SA818 module |
 |
| RIM-Lite board schematics describing the SA818 DC pickup-point |
Transceiver module installation
The transceiver module board 'floats' above the RIM-Lite board, I was to put some stand-offs to the box for the board but as the board is rather lightweight, it stays in place well just with being soldered to the antenna connector which goes through the box.


The board has been wired with the RIM-Lite as follows:
| SA818/DRA818 board | RIM-Lite board | Description of connection |
| VBATT | DC pickup-point between X1 and L1 (see picture) | DC power to SA818 module |
| GND | D9 pads 8 and 9 | Common ground for SA818 |
| PTT | D9 pad 5 | PTT output to SA818 (Active low) |
| AF | D9 pad 2 | RX audio to RIM-Lite |
| SQ | D9 pad 3 | Squelch state to RIM-Lite (Squelch open = high) |
| MIC | D9 pad 6 | TX audio to SA818 |
In addition, the SA818 board point 'H/L' is tied to ground to force low output power and 'PD' is tied to VBATT to power on the module.
I removed all other connecting pins from the module and soldered wires directly, but the programming pins (GND, TXD, RXD) so that the module can be easily reprogrammed with a USB TTL-level serial port cable

SA818 programming changes
The SA818 module is capable of performing pre-/de-emphasis functions needed for FM voice communications, but as I am now to integrate to SVXLink which also can perform same functions and my plan is to let SVXLink to do CTCSS and DTMF decoding & encoding, I configured the SA818 module to bypass its pre-/de-emphasis module and all other audio filtering;
According to the the SA818 programming manual topic 3.5 "Audio Filet Command" I switched off the filtering by issuing command AT+SETFILTER=1,1,1 which disables pre- and de-emphasis and high- and lowpass filters.
Getting everything ready on the computer side
I used a trustworthy Raspberry Pi as the computer platform with Raspbian Stretch Lite OS and installed SVXLink on it using the guide found at SVXLink webpage
The RIM-Lite device should be detected automatically with Raspbian OS, the C-Media chips are included in the standard build kernel. When the device is hooked up, the details of it can be inspected with dmesg command after the device has been plugged in;
[ 154.032533] usb 1-1.1.3: new full-speed USB device number 6 using dwc_otg
[ 154.170795] usb 1-1.1.3: New USB device found, idVendor=0d8c, idProduct=013a
[ 154.170808] usb 1-1.1.3: New USB device strings: Mfr=1, Product=2, SerialNumber=0
[ 154.170817] usb 1-1.1.3: Product: USB PnP Sound Device
[ 154.204725] input: C-Media Electronics Inc. USB PnP Sound Device as /devices/platform/soc/3f980000.usb/usb1/1-1/1-1.1/1-1.1.3/1-1.1.3:1.3/0003:0D8C:013A.0002/input/input1[ 154.170825] usb 1-1.1.3: Manufacturer: C-Media Electronics Inc.
[ 154.273001] hid-generic 0003:0D8C:013A.0002: input,hidraw0: USB HID v1.00 Device [C-Media Electronics Inc. USB PnP Sound Device] on usb-3f980000.usb-1.1.3/input3
This tells us that the device has been identified and can be used for the purpose planned. Important detail to record here is the HID device ID, in this case the device is found at hidraw0 which is detail needed when configuring SVXLink.
Configuring SVXLink
When SVXLink has been installed, it's configuration needs to be changed to match the interface used etc.
By default, SVXLink related configuration files can be found from /etc/svxlink -directory, the main configuration file svxlink.conf contains all the parameters by which SVXLink configures itself and interfaces etc.
By default, SVXLink related configuration files can be found from /etc/svxlink -directory, the main configuration file svxlink.conf contains all the parameters by which SVXLink configures itself and interfaces etc.
The standard svxlink.conf -file has lots of extras which can be discarded for now, and before editing the file, the original file can be be copied and put aside as reference for further needs;
cp svxlink.conf cp svxlink.conf.orig
This will copy the svxlink-conf file to svxlink.conf.orig which can the be referred later on, SVXLink will not use that file unless separately commanded to.
In the SVXLink.conf -file only the following sections are needed if to be played just with the simplex transceiver;
[GLOBAL]
[SIMPLEXLOGIC]
[MACROS]
[Rx1]
[Tx1]
[LocationInfo]
Other sections found in the file can be removed or left just as they are.
By default, the Simplexlogic is configured to be activated in the [GLOBAL] section so no changes are needed for that.
I have below commented the settings needed to get the RIM-Lite to work and other useful settings. It is NOT the full list of parameters within each section though so there might be parameters not explained here. Regarding them, refer to the configuration manual page linked above;
[SimplexLogic]
CALLSIGN=OH2LAK Change to your own callsign, this is what SVXLink identifies itself as
REPORT_CTCSS=118.8 If using CTCSS, defining the tone gets it reported with the ID
TX_CTCSS=ALWAYS
MUTE_RX_ON_TX=1 This is to safeguard that even the module is simplex, SVXLink does not receive during transmission
MUTE_TX_ON_RX=1 This is to safeguard that even the module being a simplex module, SVXLink does not try to transmit while receiving.
[Rx1]
AUDIO_DEV=alsa:plughw:1 By default this is configured as device "0" but change it to "1" (alsa:plughw:1) as the Raspberry Pi internal sound card is card "0" and the Rim-Lite is "1"
If using carrier squelch or transceiver-module internal CTCSS detection;
SQL_DET=HIDRAW If NOT using CTCSS (or CTCSS is configured in the SA818 module itself), the SQL detection can be done by the COS information provided by the SA818. In this case the SQL_DET is to be configured as HIDRAW
HID_DEVICE=/dev/hidraw0 For the HID device to work, SVXLink needs to know the device ID. This was recorded earlier when the device was plugged in to be hidraw0.
HID_SQL_PIN=VOL_DN The SQL detection in the RIM-Lite
If using SVXLink software-based CTCSS detection;
SQL_DET=CTCSS To use SVXLink internal DSP capability to detect CTCSS tones, SQL_DET is to be configured as 'CTCSS' and furthermore CTCSS-parameters below are needed;
SQL_DET=CTCSS To use SVXLink internal DSP capability to detect CTCSS tones, SQL_DET is to be configured as 'CTCSS' and furthermore CTCSS-parameters below are needed;
CTCSS_MODE=2 Newest and best detection mode, use this
CTCSS_FQ=118.8 CTCSS frequency to detect
DEEMPHASIS=1 Configure to use SVXLink DSP-based de-emphasis for received audio
SQL_TAIL_ELIM=300 Cut 300ms off before moment of defining squelch closed
[Tx1]
AUDIO_DEV=alsa:plughw:1 By default this is configured as device "0" but change it to "1" (alsa:plughw:1) as the Raspberry Pi internal sound card is card "0" and the Rim-Lite is "1"
PTT_TYPE=Hidraw Key PTT via RIM-Lite CM119 chip GPIO
HID_DEVICE=/dev/hidraw0 For the HID device to work, SVXLink needs to know the device ID. This was recorded earlier when the device was plugged in to be hidraw0.
HID_PTT_PIN=GPIO3 GPIO3 is the output pin used for PTT in RIM-Lite
PTT_HANGTIME=200 PTT will stay on for 200ms after transmission has ceased. This is to help tail-tone elimination
TIMEOUT=300 SVXLink internal kill-switch to kill the transmitter after 300 seconds of continuous activity. This is to prevent transmitters to left on indefinitely
TX_DELAY=800 SA818 has a slow start so this configures SVXLink to wait for 800ms after keying the TX before sending audio out
CTCSS_FQ=118.8 CTCSS frequency to be sent out when TX. Comment out if you do not want CTCSS to be sent out
#CTCSS_LEVEL=9 CTCSS transmission level in %
PREEMPHASIS=1 Configure to use SVXLink DSP-based pre-emphasis for transmitted audio
[LocationInfo]
LON_POSITION=21.51.42W Station longitude in format degrees.arcminutes.arcseconds
LAT_POSITION=64.07.74N Station latitude in format degrees.arcminutes.arcseconds
CALLSIGN=EL-OH2LAK Station callsign. Echolink Link station uses EL-prefix
FREQUENCY=434.300 Station frequency to report
TX_POWER=1 TX power to report
#ANTENNA_GAIN=6 Antenna gain to report, commented out as not significant
#ANTENNA_HEIGHT=20m Antenna height to report, commented out as not significant
#ANTENNA_DIR=-1 Antenna direction to report, commented out as not significant
PATH=WIDE2-1 APRS path to be used in reporting this station
BEACON_INTERVAL=10 Antenna gain to report, commented out as not significant
TONE=118 CTCSS tone to report
COMMENT=SvxLink simplex node Comment for reported station
Comments
Post a Comment