Fixing Yaesu FT-847 oscillating UHF PA
A trustworthy old workhorse, Yaesu FT-847, has revealed a new feature. It's an unwanted feature though, an oscillating power amplifier. Good thing is that it is not oscillating in the wild, only when transmitting so it is not controllable in a way. The visible symptoms of the oscillating without measurement equipment are that the current intake is huge, about 17 to 18 amps, and the power control does not work. Investigating more thoroughly reveals that the transmitted signal is 'wobbly' and has a lot of birdies close by to the main carrier.
Identifying the issue
Initially identifying the issue was difficult as there was no starting point. First the oscillating was not the first item to investigate as the carrier was unstable, so initial investigation was put into the PLL and frequency synthesis etc. Only now I know where the VCO's and PLL are, on a third PCB between the big audio/processor board and RF boards :)
The oscillating issue was revealed when testing the radio and removing the top cover of the PA, when instantly the oscillating started and was controllable based on how hard you push the cover against the chassis. This finding helped to craft more specific search with Google to find out that there are others with the same symptom.
An article at Mods.DK and also other articles identify the issue to be easily reproducible when using an external PA which has bad input matching, a tube amplifier for example when not tuned correctly.
When using a well-matched dummy load, the symptom is hard to reproduce but when pulling the radio apart during testing, it is possible :)
When the oscillating takes place, there are lots of birdies around the main carrier and the carrier itself is unstable also. Here the span of the spectrum analyzer view is 1 MHz, so the wobbliness is not easy to see.
Fixes and patches to the radio
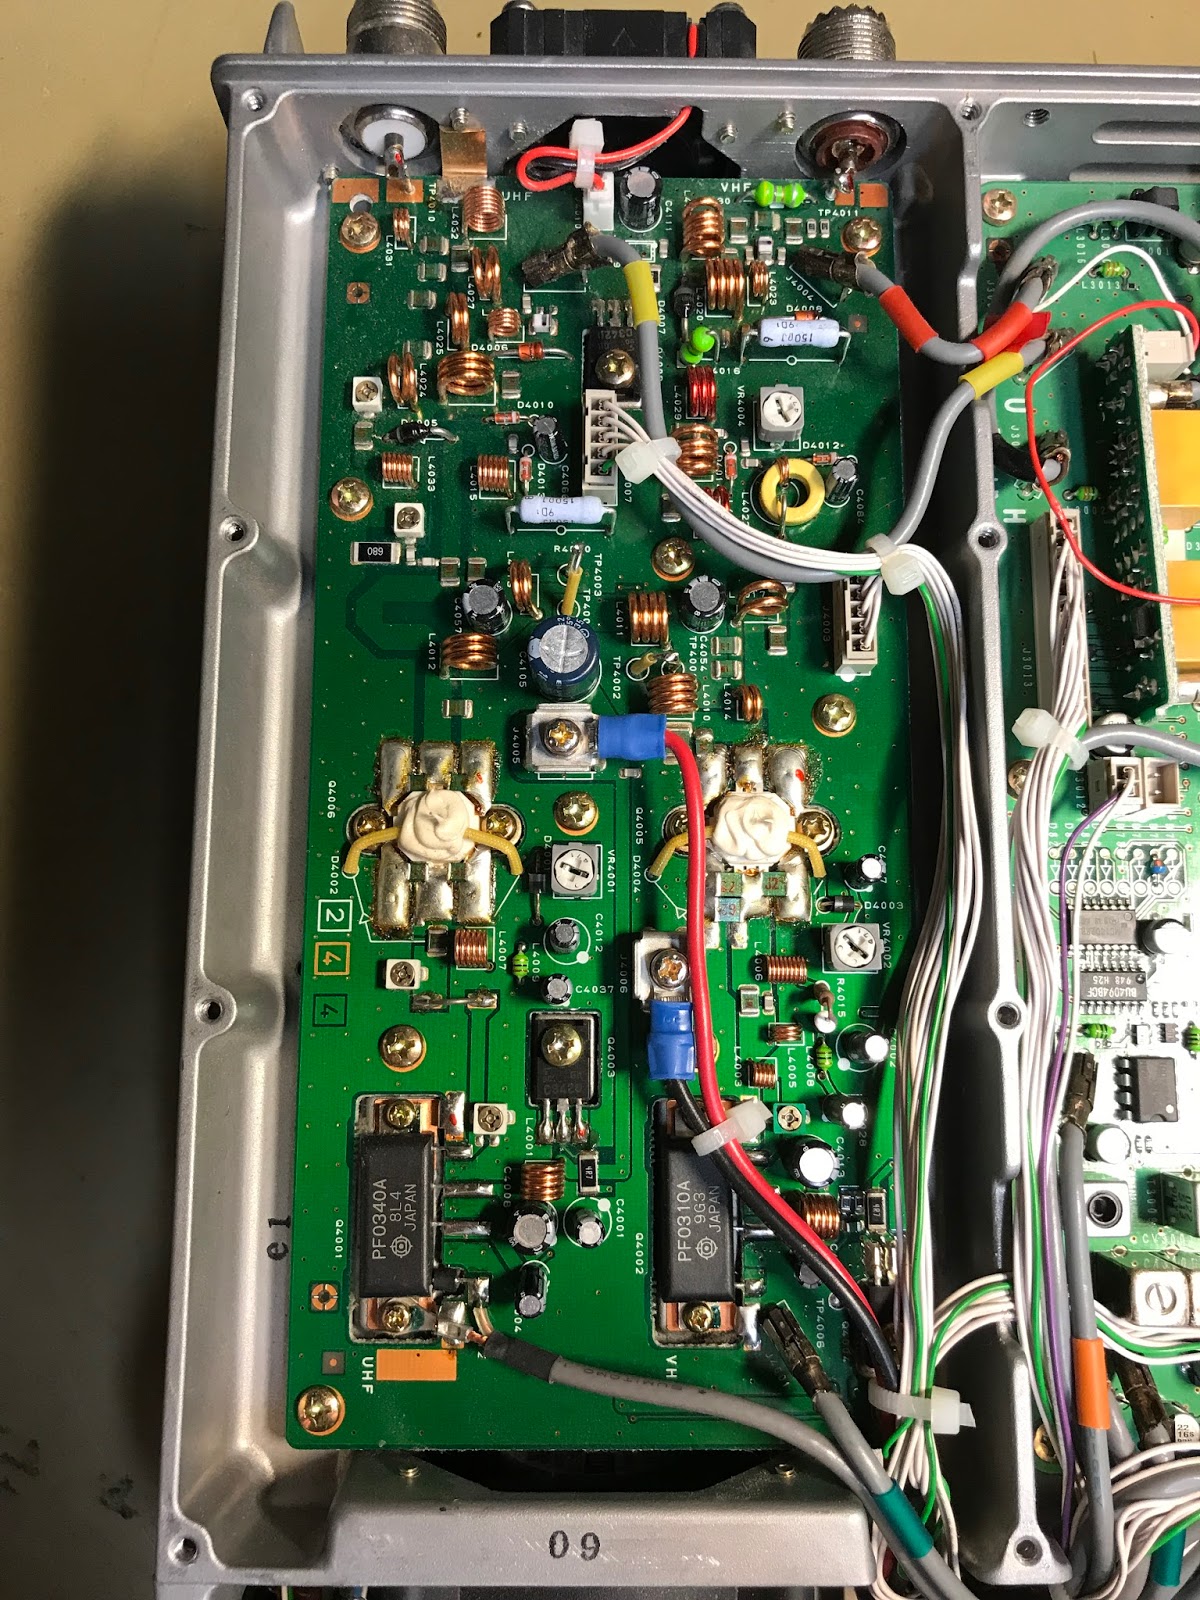
The true reason for the oscillating might be bad design or other but key repair task to mitigate the oscillating is to improve grounding of the PA board. The board is well grounded but due to aging, the contacts gets oxidized and poor, which create sporadic disconnects and capacitive pairs which are dependent on temperature and other factors.
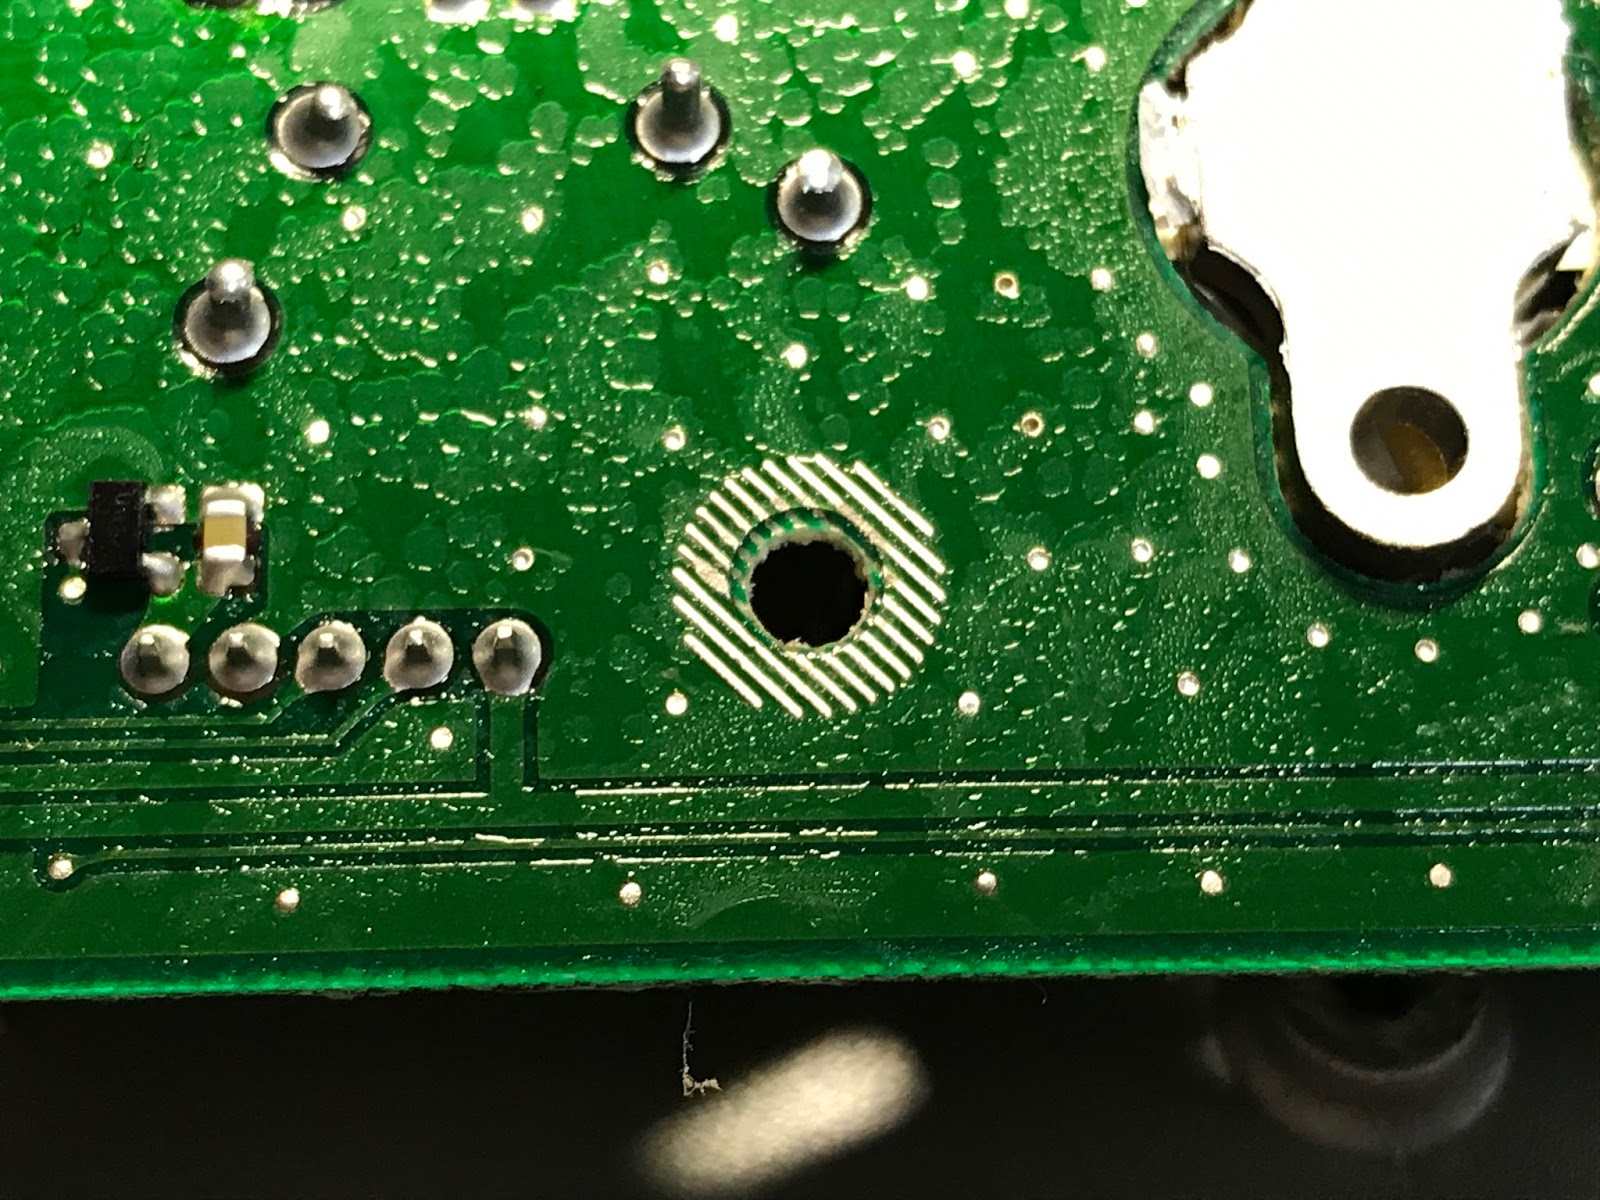
The articles guide to improve grounding by scraping the screw posts clean and resoldering the board ground contacts.
 |
| Scraped shiny screw posts on the chassis |
 |
| Soldered grounding contact around the mounting screw hole |
In addition the mounting screws can be put back with tooth lock washers which improve contact between the board top and the screws.
 |
| Tooth lock washers to improve contact |
 |
| Screw back in place with the washer |
Results
With the improved grounding, the oscillation is completely gone. Additionally, I added copper tape to ensure the grounding of the top cover for the chassis.
 |
| Measuring results after refitting all back in |
 |
| All birdies are gone and the carrier is stable |
 |
| Additional grounding with copper tape |
 |
| Additional grounding with copper tape |


Comments
Post a Comment